Getting Started with qnexus
Quantinuum Nexus is a cloud-based platform that enables users to seamlessly run, review, and collaborate on quantum computing projects. The platform integrates support for various quantum targets using Quantinuum’s developer tools. One such target is the Quantinuum’s Helios-1. Each quantum target in Nexus is configured via a BackendConfig which enables access to hardware, emulator or simulator systems. Quantinuum Nexus offers different types of jobs that represent a component of your workflow that is running on Nexus-hosted or Quantinuum-hosted emulators.
ExecuteJobsrepresent the execution of programs on a quantum computer or simulator.Nexus stores
Jobinputs and outputs such asBackendResult,BackendInfoandProgramin addition to job metadata. These are searchable by a user friendly name.qnexususes references to access these resources. For access across multiple python sessions, these references should be saved to and loaded from local disk.
To access Nexus from an external environment, a python client must be installed with pip install qnexus.
Authentication
External Environment
Quantinuum Nexus API usage requires you to have valid authentication tokens. You can obtain these by logging in with qnexus. Authentication is performed silently in the Nexus Jupyterhub environment. However, in an external environment, qnexus requires explicit authentication. There are two ways:
Authentication via Web Browser
Authentication via a Python prompt
The credentials one uses to authenticate access to qnexus are the same as the credentials to login to the Quantinuum Nexus website.
Authentication via a Web Browser
The code snippet below opens a windows in a web browser and requires the user to login to the nexus portal. A code is also displayed in both the python session and the web browser. The user is asked to verify the code is the same.
import qnexus as qnx
qnx.login()
Calling qnx.login will first lead to a prompt being displayed as output. The prompt will contain an authentication code alongside instructions.
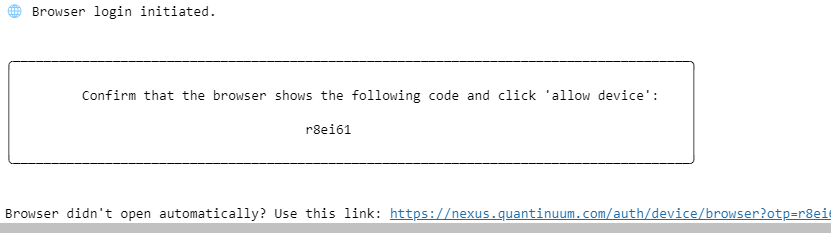
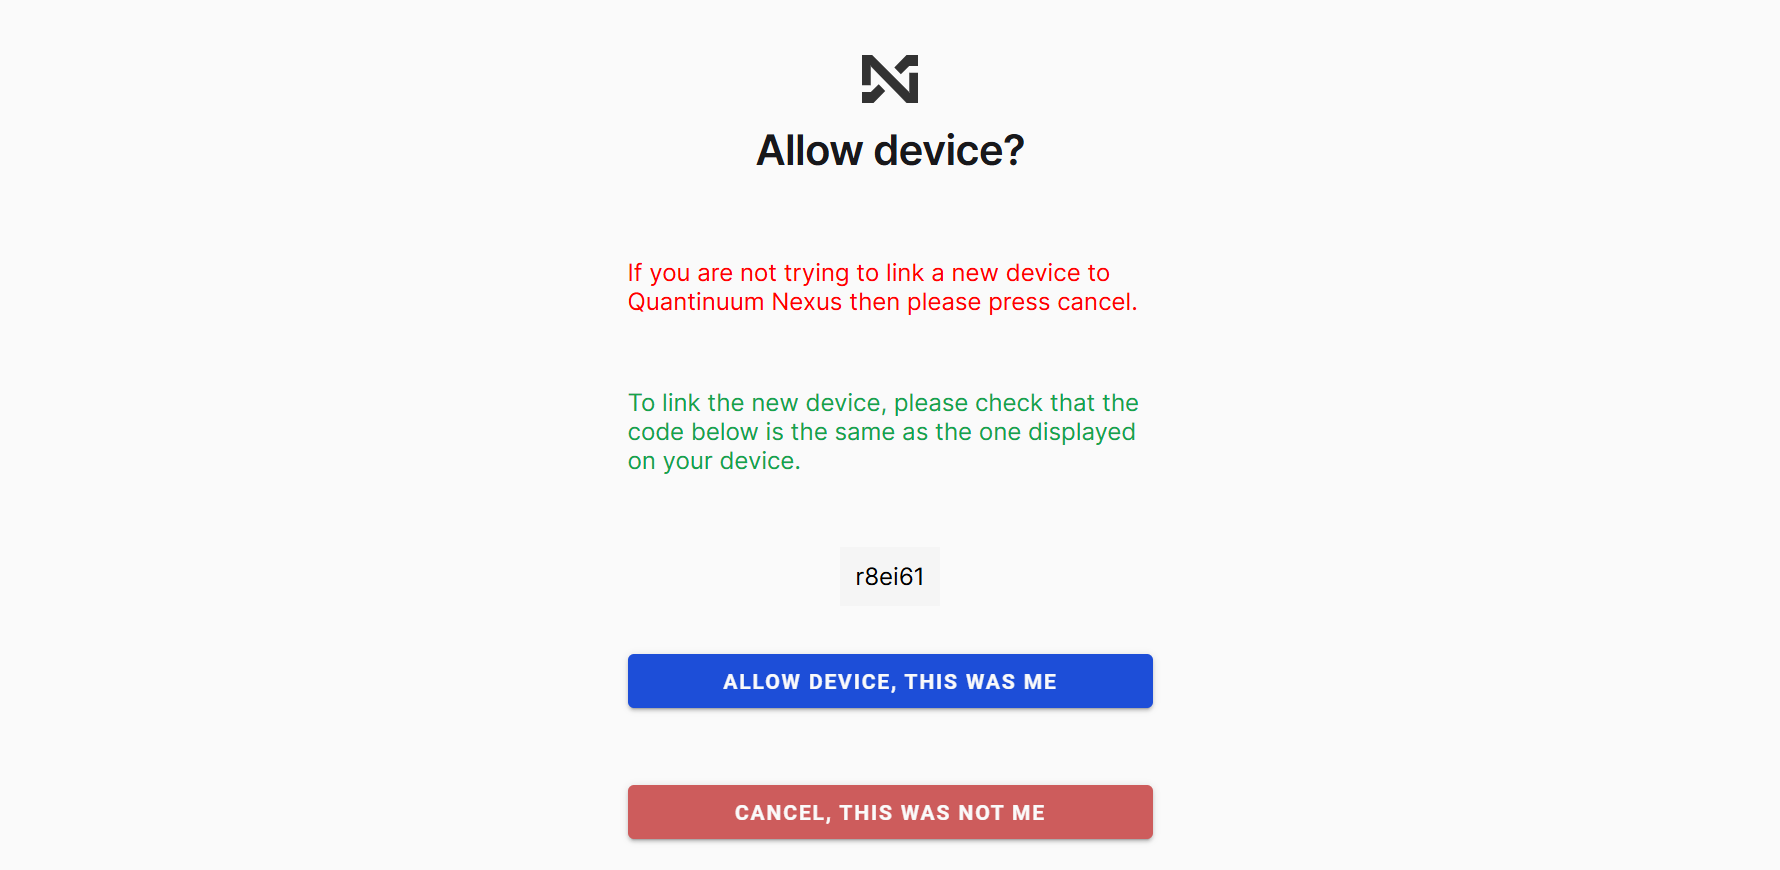
In the web browser, the following page opens displaying:
An authentication code. This needs to be compared with the authentication code displayed.
The option to link a new device to nexus.
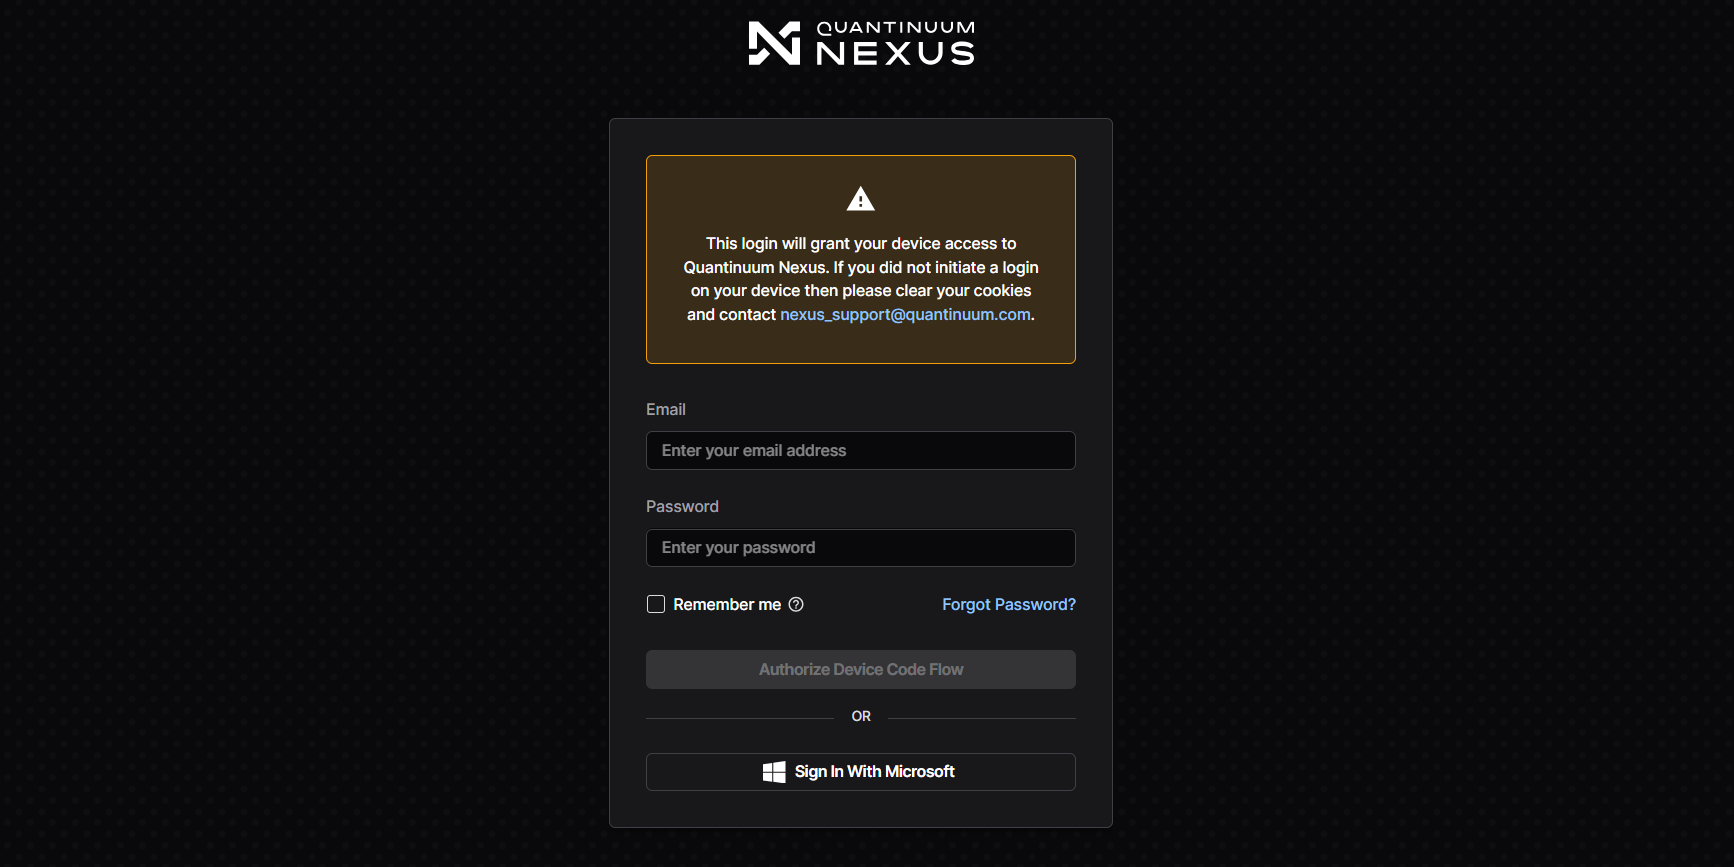
Subsequently, the end-user must login to the nexus portal to grant the external environment access to nexus.
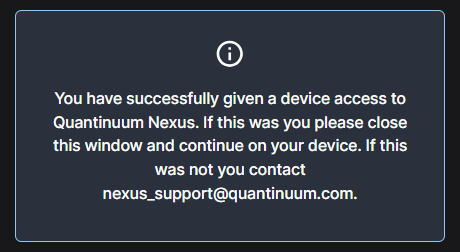
Once the user login is complete, a message will be displayed confirming successful authentication.
Authentication via a Python prompt
import qnexus as qnx
qnx.login_with_credentials()
Authentication Token Storage
Auth tokens will be stored on your system and should last 30 days before logging in again is required.
Within Nexus Jupyterhub
Within the JupyterHub environment within Nexus, user authentication is not required for qnexus. The workflow defined for user using qnexus in external environments does not need to be followed.
Project Setup
Within Quantinuum Nexus, all jobs are contained within projects. At the start of each Python session, a qnexus user must authenticate using the workflow above and define an active project. The method qnx.projects.get_or_create can be used to retrieve an existing project from the database, called Nexus-Workflow-Demonstration. The method qnx.context.set_active_project ensures this project is used within the context of this session by default.
Nexus additionally provides a way for you to create custom labels to organise your data within a project, these are called Properties.
Learn more about Projects and properties in qnexus.
import qnexus as qnx

project = qnx.projects.get_or_create(name="Nexus-Workflow-Demonstration")
qnx.context.set_active_project(project)
Uploading and Downloading Programs
For the demonstration of the qnexus workflow, we will create, compile and upload a simple program written in Guppy.
from guppylang import guppy
from guppylang.std.builtins import output
from guppylang.std.quantum import cx, h, measure, qubit, x

@guppy
def simple_program() -> None:
    q1, q2 = qubit(), qubit()

    h(q1)
    cx(q1, q2)

    outcome = measure(q1).read()
    output("q1", outcome)

    if outcome:
        x(q2)

    outcome_2 = measure(q2).read()
    output("q2", outcome_2)


simple_program.check()

# Compile the program locally to a Hugr package, which can be uploaded to the Nexus platform.
hugr = simple_program.compile()
hugr_ref = qnx.hugr.upload(hugr_package=hugr, name="Simple First Program")
Once uploaded, programs in the Nexus database can be downloaded or reused for subsequent jobs.
hugr_ref_2 = qnx.hugr.get(name="Simple First Program")

# This ref can be used for further jobs, but if you need to download the entire Hugr package, you can do so with the following method on the HugrRef object:
hugr_ref_2.download_hugr()
ExecuteJobs
An ExecuteJob represents the execution of a number of programs on a quantum system (e.g. hardware or emulator).
Backend Configuration
A BackendConfig must also be specified to start execution jobs. A project can contain jobs using multiple BackendConfig specifications.
To see an example workflow targetting the H2 or Helios generation of systems, please see the guides available in our systems documentation: https://docs.quantinuum.com/systems.
Running jobs on Helios and Helios emulators.
Running jobs on Selene and lightweight Helios emulators, including advanced configuration.
Running jobs on third-party simulators hosted on Nexus.
For this example, we will target a simple noiseless Selene statevector simulator running on Nexus.
config = qnx.models.SeleneConfig(n_qubits=10)
An execution job requires:
A database reference to the program. The references must be passed as a list.
A specified number of shots for each program to be submitted for execution.
A BackendConfig to specify which quantum target to use for execution.
A name to assign on the execution job for job management purposes.
ref_execute_job = qnx.start_execute_job(
    programs=[hugr_ref],
    n_shots=[100],
    backend_config=config,
    name="Run a simple program on Selene",
)
qnx.jobs.status is used to query the status of the execution job.
qnx.jobs.status(ref_execute_job)
The method qnx.jobs.wait_for can be used to block any further operations whilst the job is running. The method also has a timeout. Upon timeout, an exception is raised. The subsequent method, qnx.jobs.results won’t be called until the compilation job completes.
qnx.jobs.results requires the compilation job reference as an input and outputs the reference for the compiled job result.
qnx.jobs.wait_for(ref_execute_job)
ref_result = qnx.jobs.results(ref_execute_job)[0]
The user can call download_result directly on the result reference. For execution jobs, get_output does not need to be called. The method, download_result, will download the result data into a local instance of BackendResult.
result = ref_result.download_result()

result.collated_counts()
Cancel job
Jobs submitted to quantum backends can be requested to be cancelled by Nexus, however please note that depending on the status of the job cancellation cannot be guaranteed. Please check the job status once the cancellation request has been made to make sure.
# Lets start a job (please note this example assumes you have access to the H2-1E device)
ref_execute_job1 = qnx.start_execute_job(
    programs=[hugr_ref],
    n_shots=[100],
    backend_config=qnx.models.SeleneConfig(n_qubits=10),
    name="Job cancellation example",
)
qnx.jobs.status(ref_execute_job1)
qnx.jobs.cancel(ref_execute_job1)
# Double check the job is cancelled (this might take some time).
qnx.jobs.status(ref_execute_job1)
Local Reference Storage
Nexus stores all circuits, results and jobs on the nexus database. Each type of resource is searchable by a user-friendly name. With the qnexus client, an end-user can request these resources across different sessions with references. To this end, these references must be saved and loaded from local disk using the qnx.filesystem module.
Learn more about querying your data/jobs in qnexus.
Learn more about saving and loading Ref objects in qnexus.
from pathlib import Path

qnx.filesystem.save(
    path=Path.cwd() / "my_job_folder" / ref_execute_job.annotations.name,
    ref=ref_execute_job,
    mkdir=True,
)
ref_execute_job_2 = qnx.filesystem.load(
    path=Path.cwd() / "my_job_folder" / ref_execute_job.annotations.name
)

qnx.jobs.status(ref_execute_job_2)
If we’d like to share our work, we can grant access to team members using collaboration and role-based access control features.
Learn more about Access and Collaboration features in qnexus.
To put all of this together in a real-world example, please see our knowledge articles.
Delete job
Deleting a job will delete all job items, results and backend snapshots. Programs are not deleted, and deletion of these will require deletion of the entire project.
qnx.jobs.delete(ref_execute_job1)